As some of you that have been following us for a while may know, when I moved I got a Shellac manicure and promised to document the results. In reality it was a gigantic failure and you can read about it
here. However I've gotten Shellac before and had much success, so when my new live-in boyfriend (Chris) and I were leaving for our trip to Germany, Austria, and Italy, I got another one.
This time around I went back to the only woman I let do my nails and PAY for it - Suzy at the
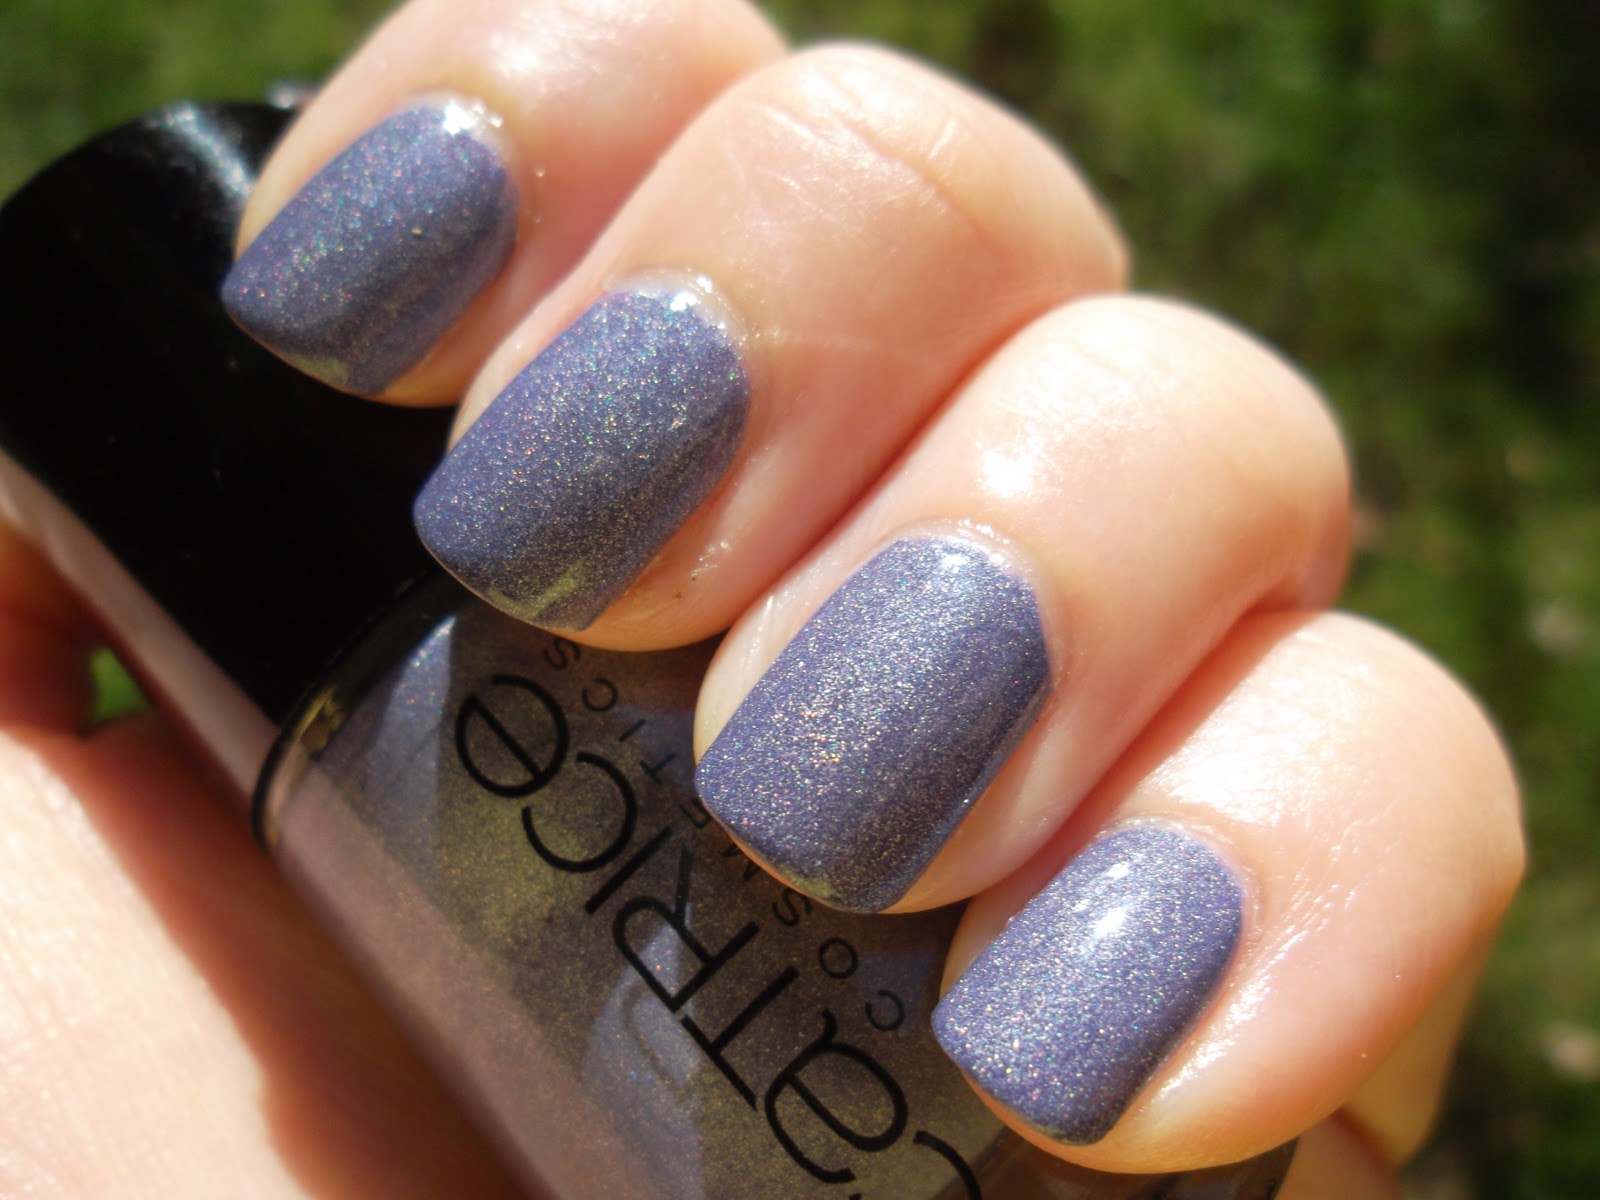
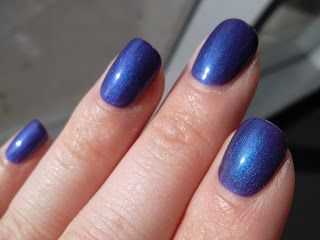
LifeSpa in Columbia, MD. If you ever are in the area I highly recommend her. She is meticulous and everything about her manicures are perfect! So 2 days before we left I got my manicure, and chose Shellac Purple Purple. I'm totally smitten with this color. It's a beautiful royal purple with a teal flash. Shellac lasts for 14 days guarenteed and this manicure sure did hold up. So take a look below and my manicures adventures through Europe - including a
very special announcement...
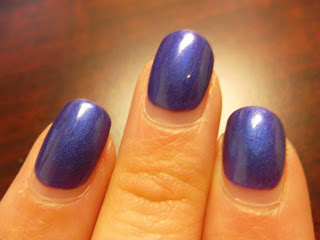
So here we are on Day 2, Chris and I are waiting for the plane to take us over to Germany. We are going for his cousin Christine's wedding, but doing some traveling while we are there. Shellac on day 2 is looking perfect, like I just got it done. It's shiny and beautiful.
 |
| Shellac Purple Purple Day 2 |
Now it's Day 3, we had an overnight flight to Munich and we've got a rental care and we are headed to Italy (although we did make a few stop in Germany and Austria first). The sun is not out yet, but my mani is happy to be in Germany.
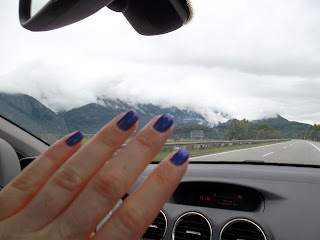 |
| Shellac Purple Purple Day 2 |
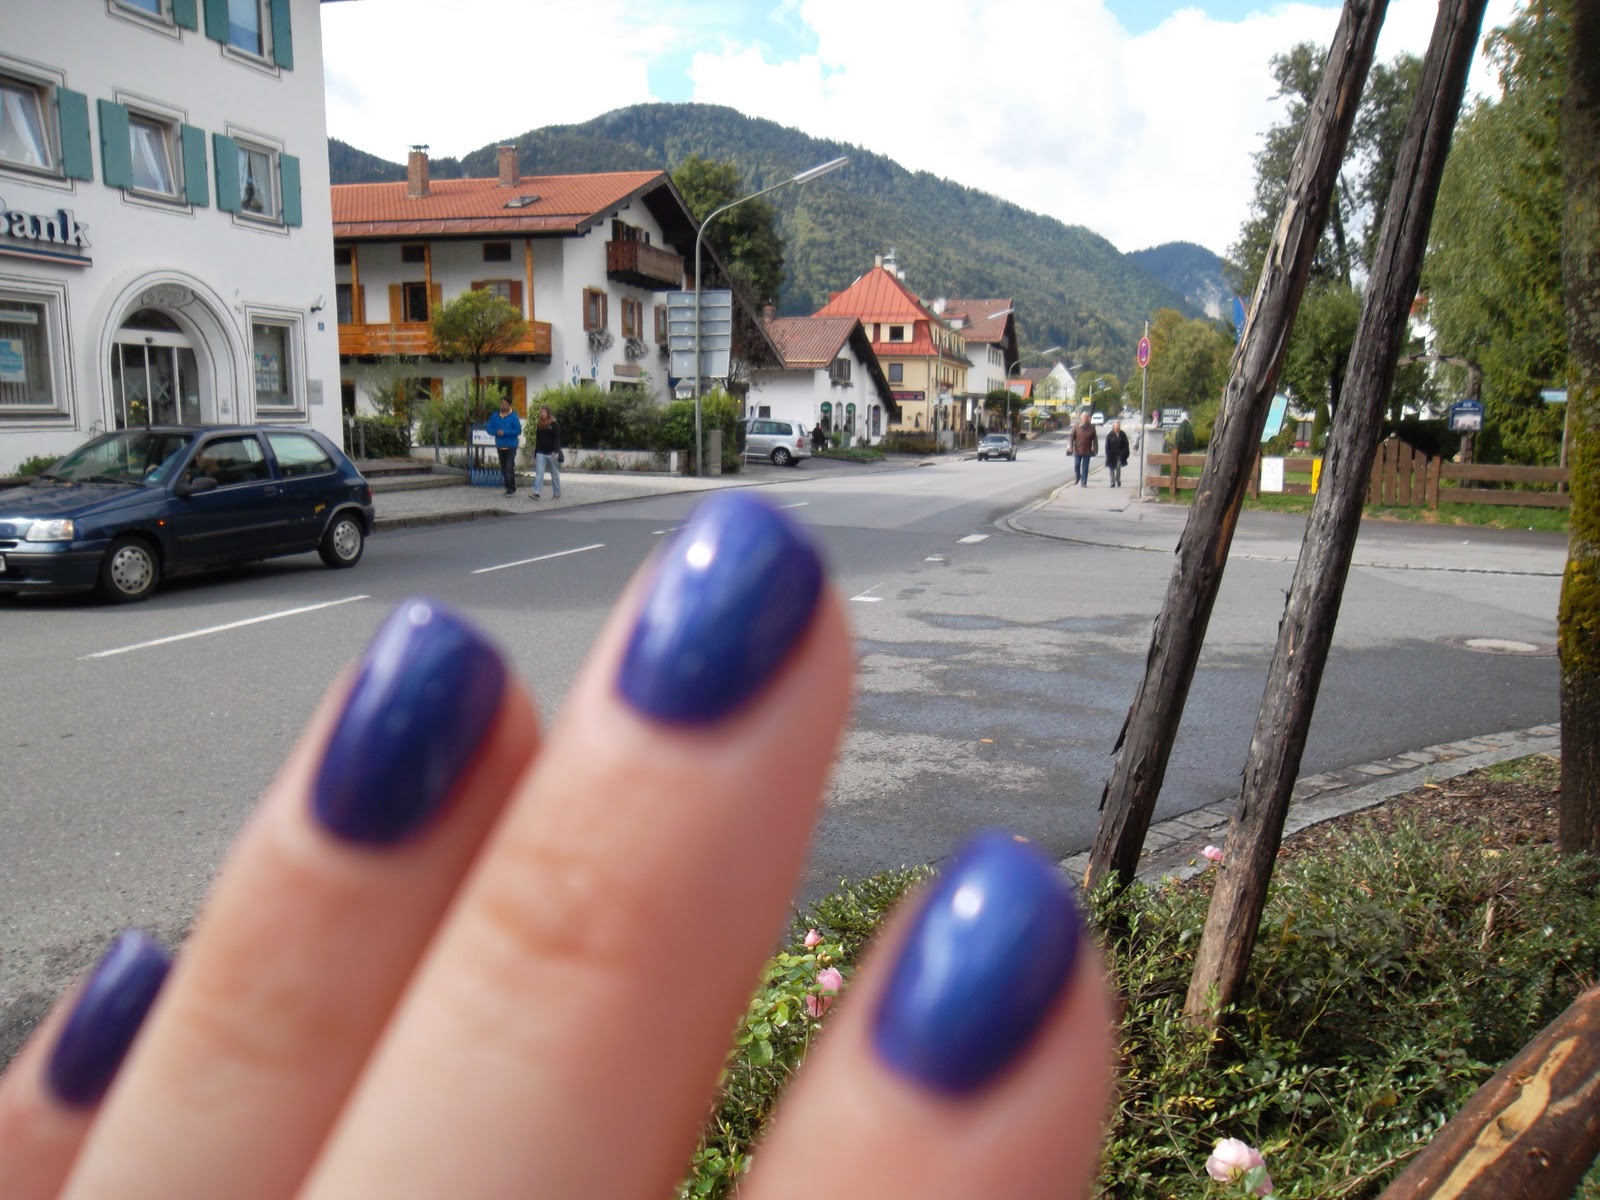
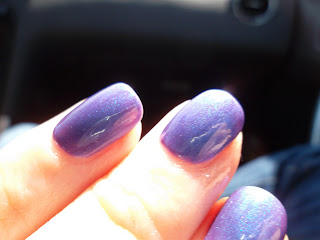
Our first stop is Oberammergau, where the family of the bride lives. We stopped by to drop off our large suitcases and wedding attire so we didn't have to schlep them all over Italy. As I wait by our little Peugeot, I do another mani picture.
 |
| Shellac Purple Purple Day 2 |
My failed attempt at getting a picture in the sun, but at least you get to see a cute Oberammergau street.
 |
| Shellac Purple Purple Day 2 |
Still on Day 3, but now we have crossed into Austria, which we are pretty much just driving through.
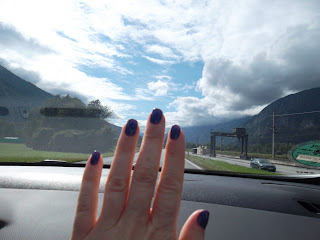 |
| Shellac Purple Purple Day 3 |
Still Day 3, but we've made it to Italy!
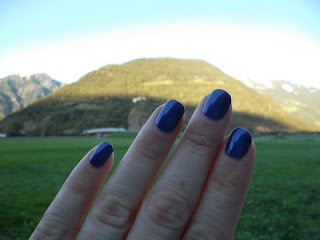 |
| Shellac Purple Purple Day 3 |
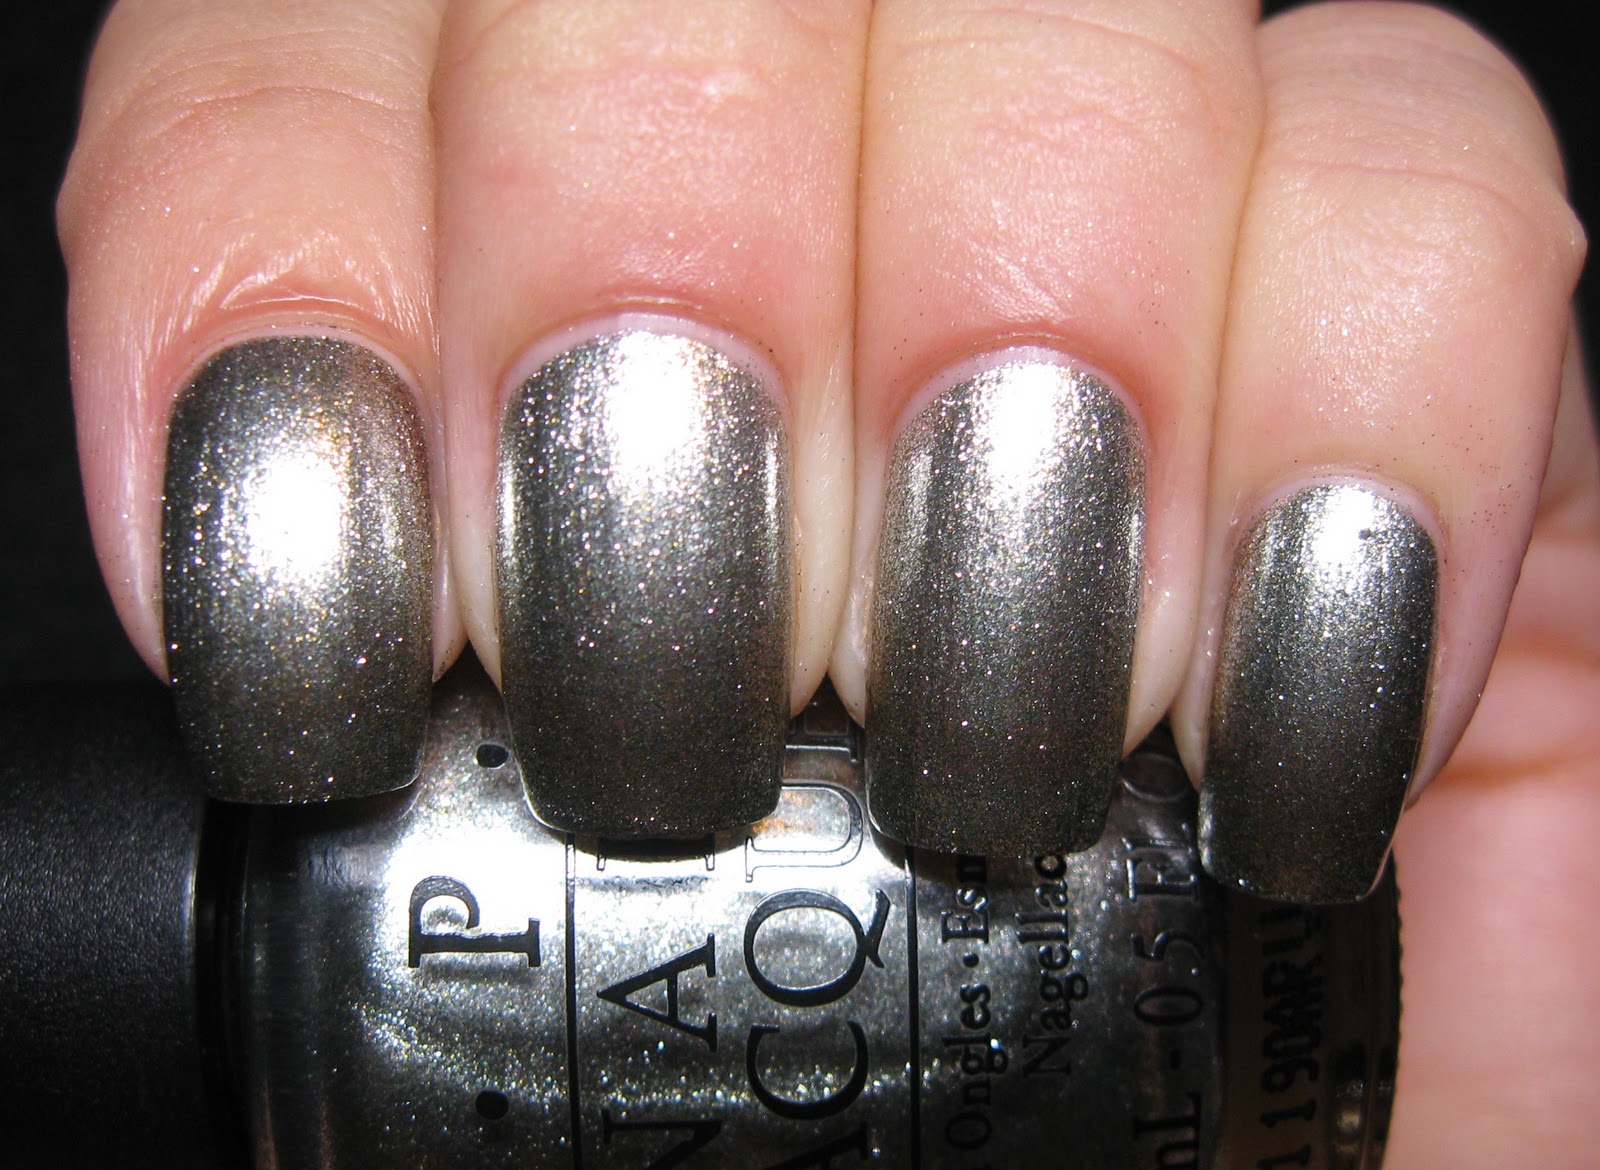
Day 4! We spent the night in Verona and at this point we are back in the car and headed to Maranello, Italy to go to the Ferrari Museum and Factory. We had some great sun. The manicure still looks perfect, no chips, scratches or dullness.
 |
| Shellac Purple Purple Day 4 |
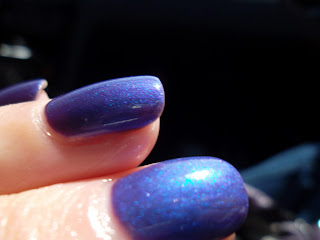 |
| Shellac Purple Purple Day 4 - See that teal sparkle! |
This is a little later I believe, but still Day 4, here we are on our way to Riomaggiore in Cinque Terre, Italy.
 |
| Shellac Purple Purple Day 4 |
 |
| Shellac Purple Purple Day 4 |
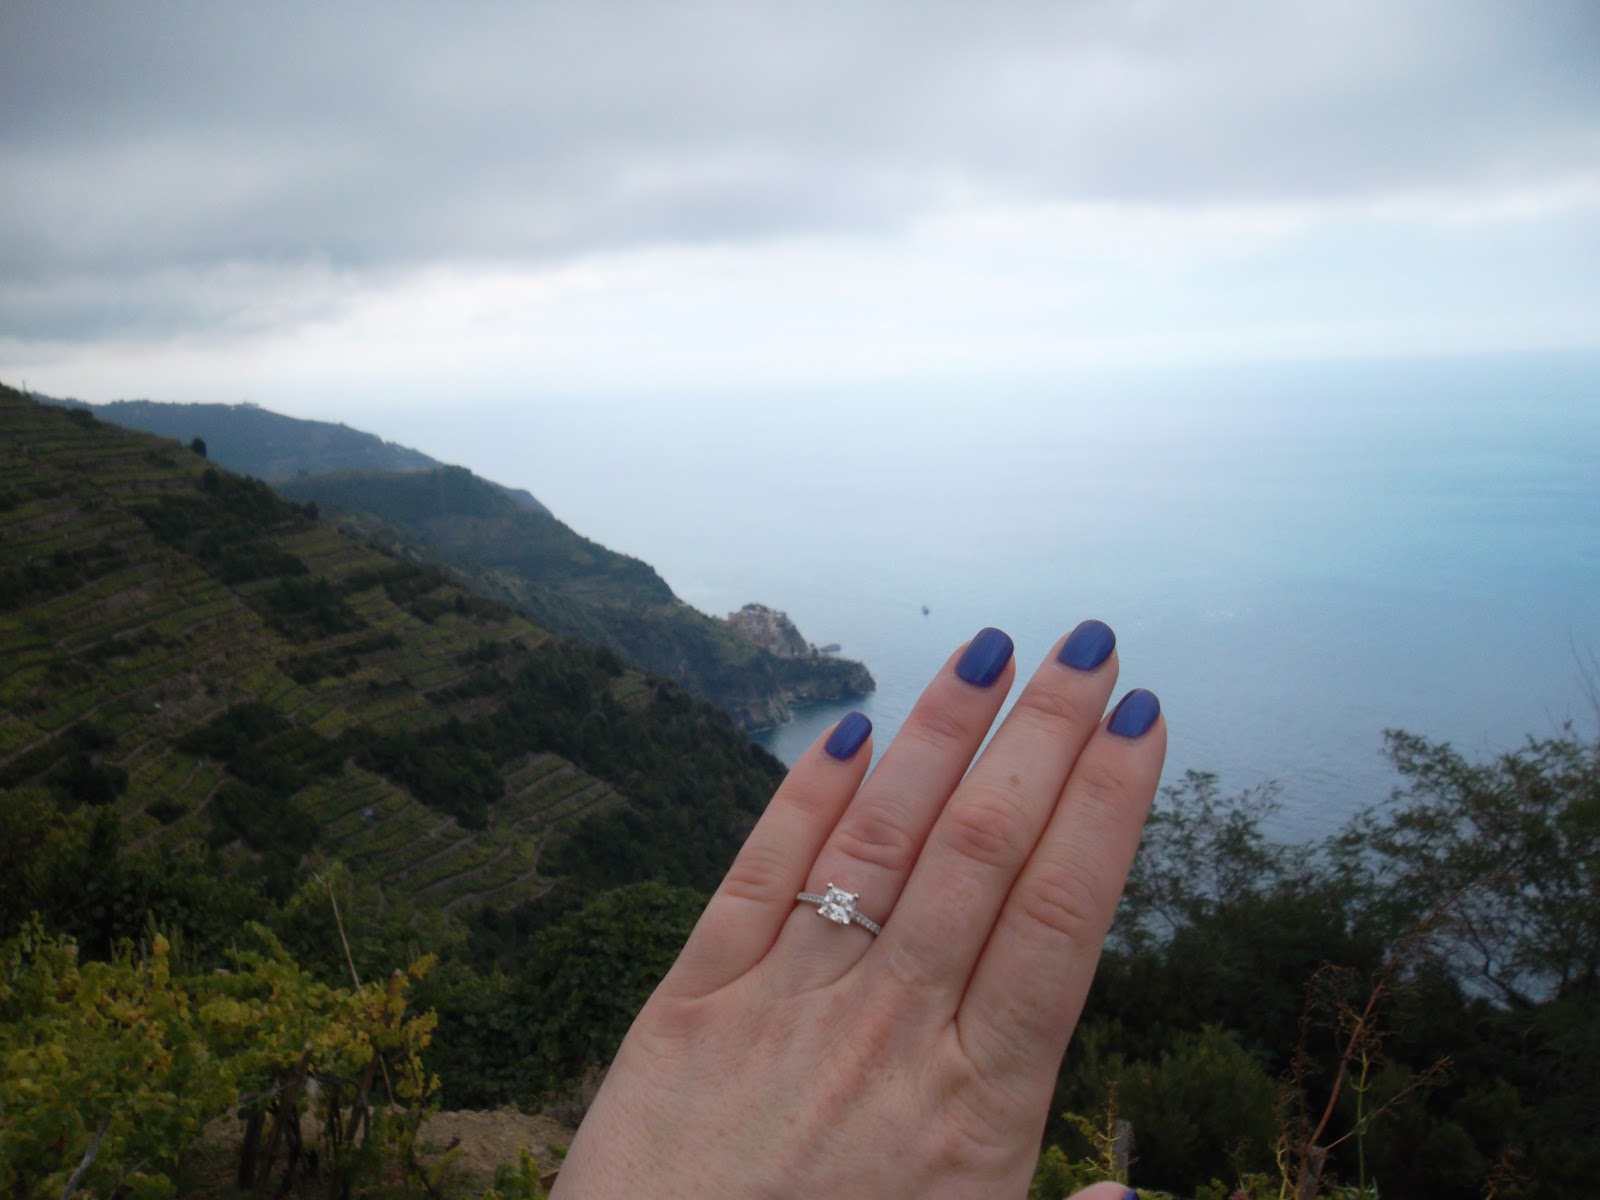
So after some much needed pizza, wine, and rest, we make it to Day 5 of the Shellac mani. It's still looking perfect, because low and behold, while Chris and I are hiking in Cinque Terre he's got a pretty amazing surprise for me....
 |
| Shellac Purple Purple Day 5 + My engagement ring! |
A proposal! Right there, between Manarola and Corniglia, in the middle of a vineyard on the Italian coast, the love of my life got down on one knee and asked me to marry him. He even threw in this awesome ring as part of the deal :). Needless to say I said yes! After the initial excitement and celebration and a few "Oh my god!"s occurred, Chris then said "NOW you can take a swatch picture;" so I did (see above).
Here is Chris and I right after we got engaged, this is literally the spot he asked me. I'm beyond happy and my manicure looks freaking sweet!
 |
| Chris and I, about 10 minutes after we got engaged! |
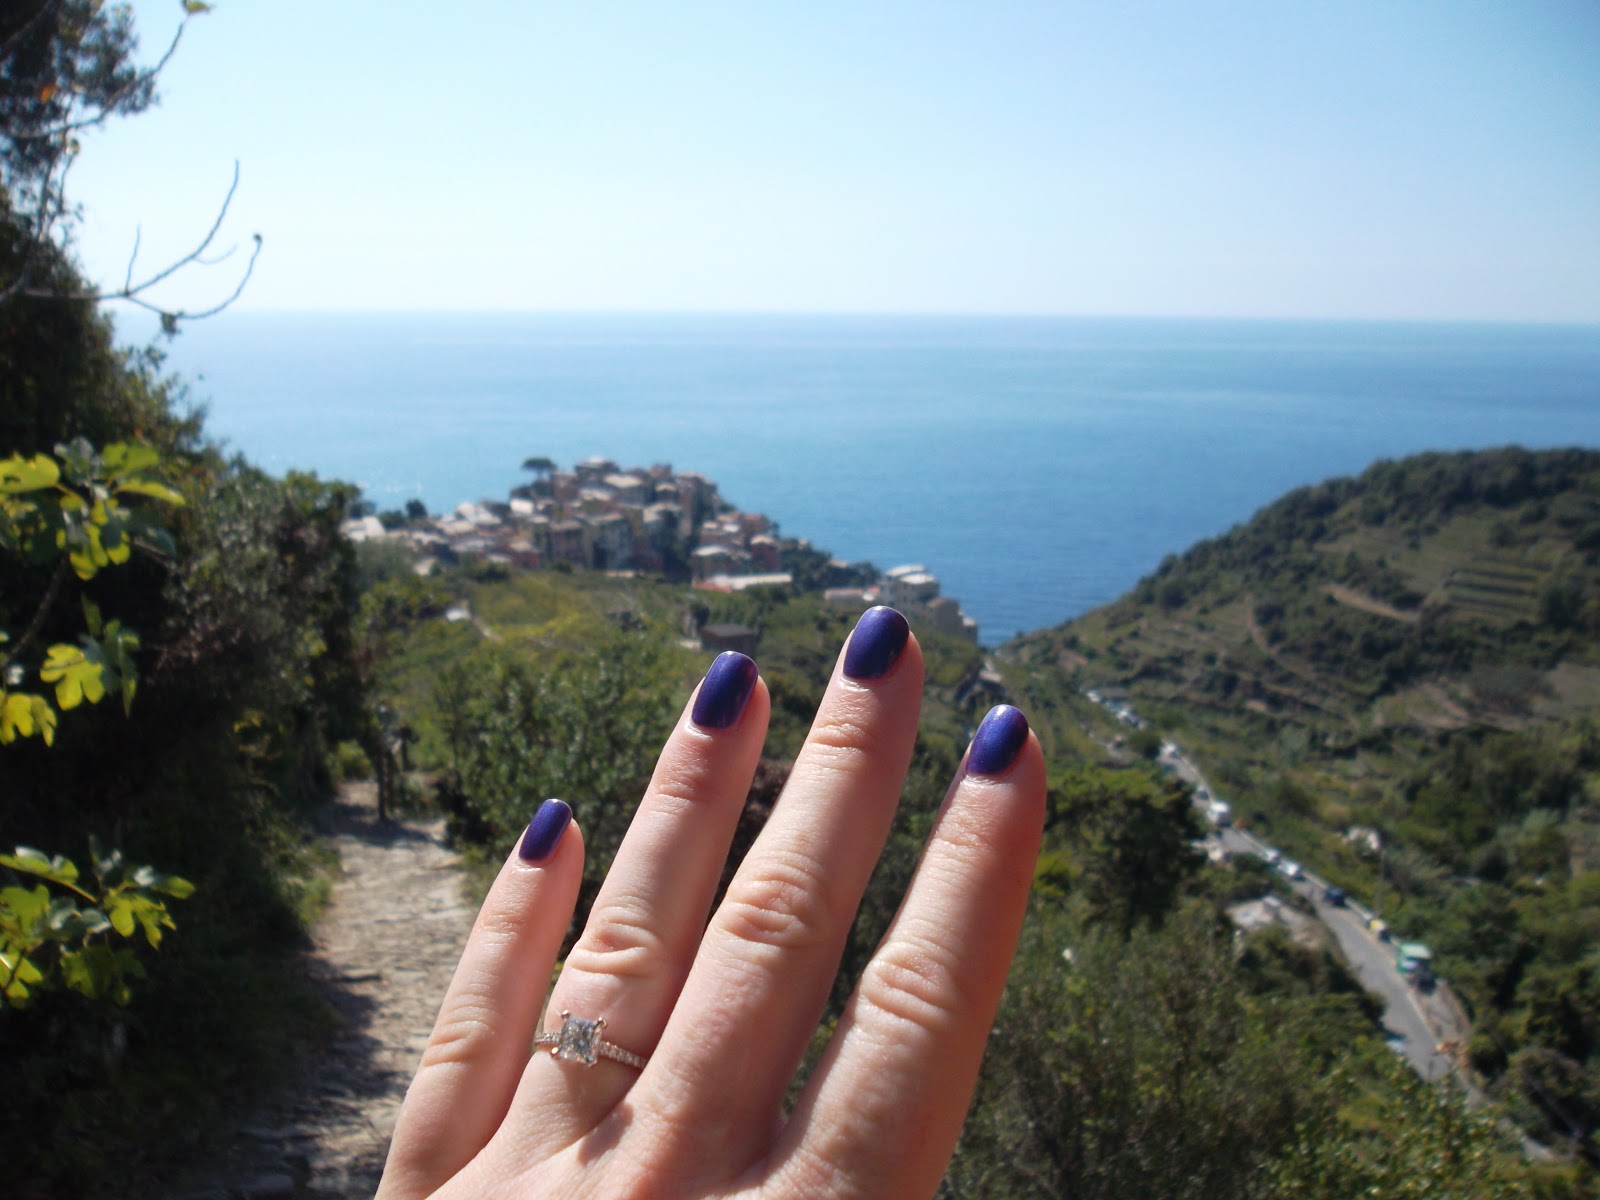
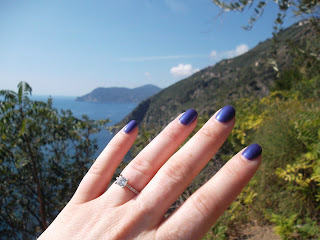
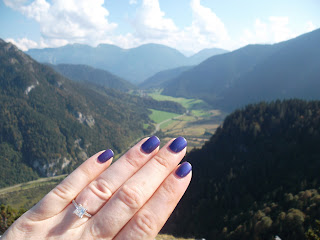
A little later in the hike the sun come out so I snapped some pictures of Purple Purple with my ring and Corniglia in the background.
 |
| Shellac Purple Purple Day 5 |
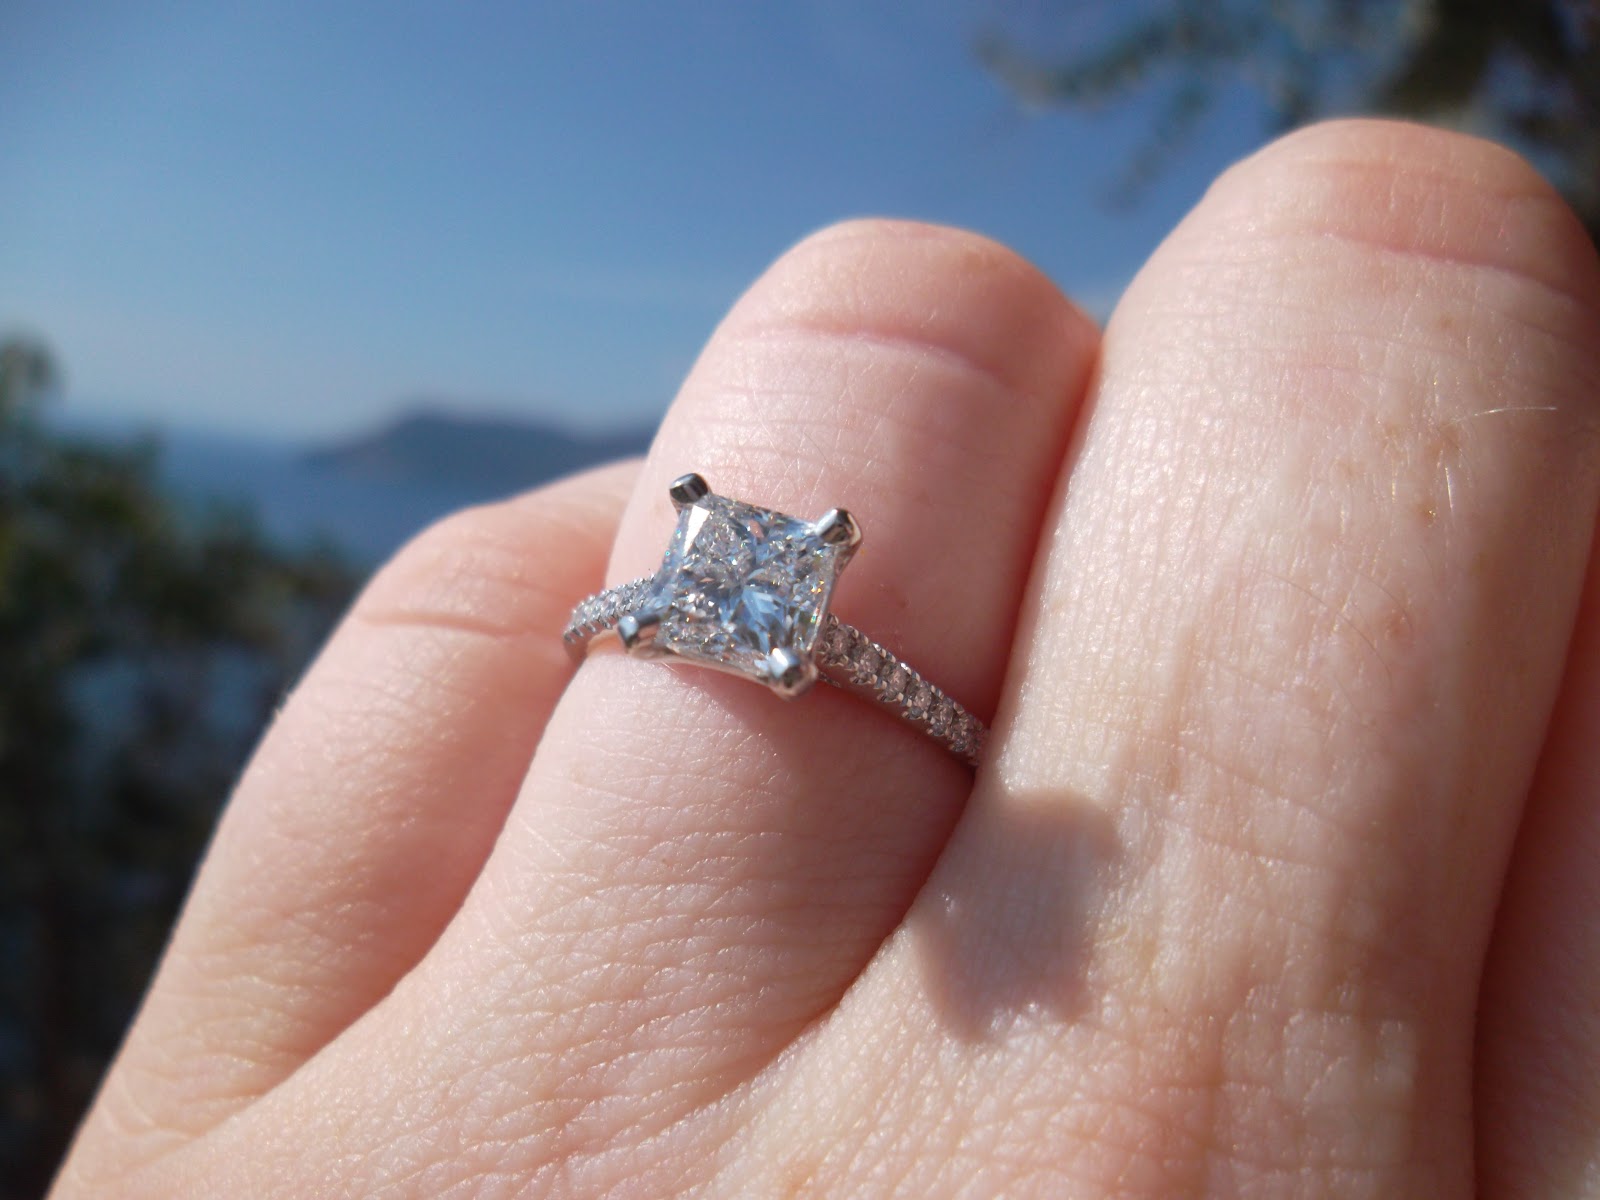
And just because I want to show off the awesome taste my fiance has, there is the one and only close up shot you'll get of the ring.
 |
| My engagement ring |
The rest of the day was sunny sunny sunny, so I couldn't help but get more pictures with the gorgeous backdrop.
 |
| Shellac Purple Purple - Day 5 |
And here we are later that night, with some celebratory Grappa! After 6 hours of hiking my manicure still looks perfect. Not a scratch or dent or chip to be seen.
 |
| Shellac Purple Purple Day 5 |
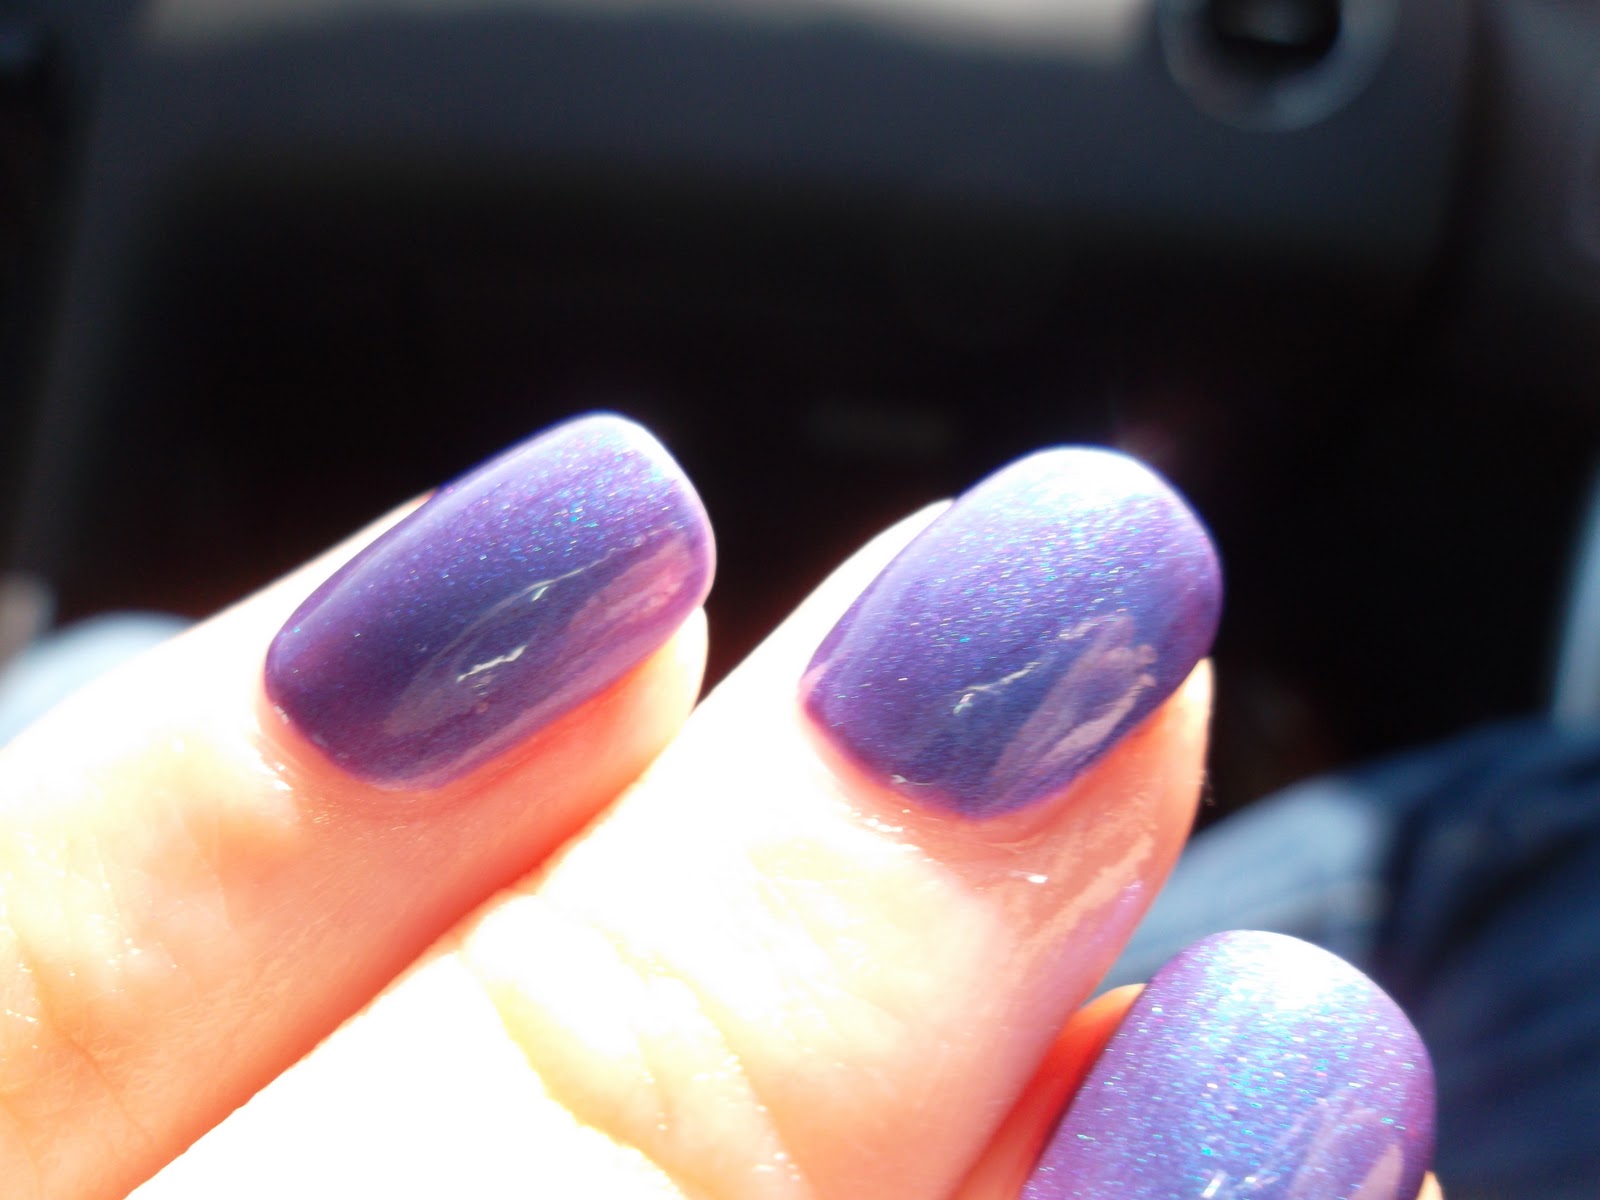
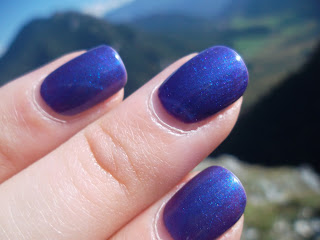
Day 6 is finally here and we have to leave Italy to head back to Germany (through Austria again). This picture isn't clear, but it shows the teal flash so well. The one right after shows the true purple color.
 |
| Shellac Purple Purple Day 6 - blurry picture to show teal flash |
 |
| Shellac Purple Purple Day 6 |
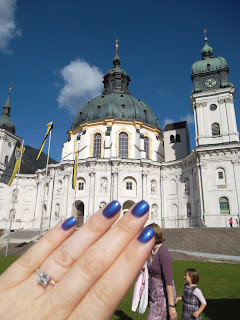
Day 7 and we are at the wedding in Oberammergau (actually the wedding was in Ettal next door) which was at this amazing church - Ettal Abbey. I'm pretty sure all the German wedding guests thought I was a crazy American.
 |
| Shellac Purple Purple Day 7 |
 |
| Shellac Purple Purple Day 7 |
Day 8 and it's time to celebrate at THE Munich Oktoberfest! This was SO much fun and hopefully one day we can go again. I even got to wear a drindl (traditional Bavarian dress) that Chris's Aunt loaned me. SO much fun!!! Mani still looks great too.
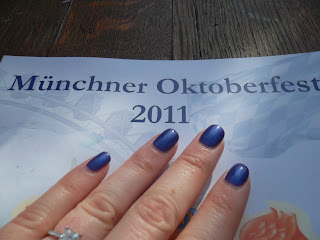 |
| Shellac Purple Purple Day 8 |
Day 9 and we have to go home soon, so on our last day in Germany, Chris, his mom and I hike to the top of the Koffel over Oberammergau. Hard work but the view was worth it. Again, mani still looks perfect! The growth is starting to get pretty noticeable. You can see that in the second picture below.
 |
| Shellac Purple Purple Day 9 |
 |
| Shellac Purple Purple Day 9 - check out that growth! |
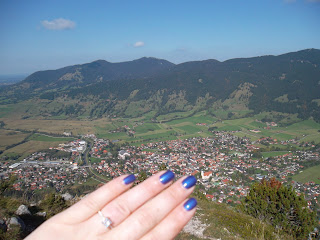 |
| Shellac Purple Purple Day 9 over Oberammergau |
So now we are back home in the USA and I didn't do a very good job keeping track of the rest of my Shellac mani. This is Day 11 and the last day I took pictures. I think the excitement of being home and celebrating the engagement, not to mention catching up on work and trying to start to find a venue really got in the way. Fortunately Day 11 is pretty representative of Day 14, when I took of the polish. As you can see the polish is still very very very shiny. I have the slightest of tip wear. Normally tip wear is horrible for me, so that is pretty amazing. And my growth is INSANE. I had no idea my nails grow so fast. You'll see below the only issue I had was with my thumbs.
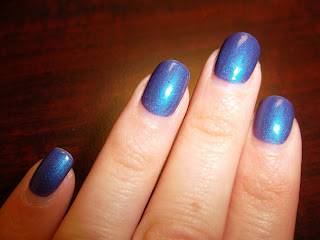 |
| Shellac Purple Purple Day 11 |
 |
| Shellac Purple Purple Day 11 |
 |
| Shellac Purple Purple Day 11 |
So here is a representation of my thumbs. Both of them looked like this. Chips in the corners which led to the Shellac starting to lift. I ended up throwing some Gelous over it until Day 14 to make sure what was left didn't damage my nail.
 |
| Shellac Purple Purple Day 11 - Thumb damage |
Overall I am very pleased (once again) with Shellac for my vacations. As long as you have a good nail tech who know how to apply the product correctly, you will get fantastic results. I am actually really excited to see OPI's version of Shellac called OPI GelColor, whenever that hits salons, but for the time being I'll stick with Shellac. Shellac usually runs about $20-30 more than your average manicure. I think this one cost me $48 and it was worth every penny! Have you ever gotten "Shellac"ed? Any questions I can answer?